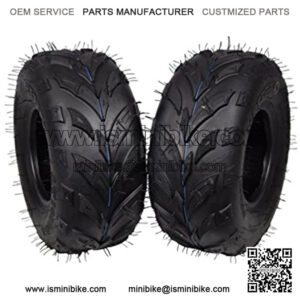
Dirt biking is a great outdoor recreational activity, but it can be dangerous if you don’t have the proper equipment. Therefore, maintaining your dirt bike is crucial to keep it running well and avoid any serious problems. One important task you may need to perform is putting air in the dirt bike tire.
This can be done in a few easy steps, and it’s important to make sure the tire is properly inflated for performance and safety reasons. In this post, we’ll show you how to put air in dirt bike tire so you can hit the trails with confidence. Read on for detailed guidelines.
What Tools & Materials Needed?
- An air compressor
- An air gauge
- A tire iron
- A valve stem core remover (optional)
- A can of compressed air (optional)
Step by Step Guide: How to Put Air in Dirt Bike Tire
Step 1: Park Your Dirt Bike on a Level Surface.
It’s important to have your dirt bike on a surface level when trying to put air in the tire. This will help ensure that the air pressure is even and that the tire doesn’t get over-inflated. If you have an air compressor, you can just park your bike next. Otherwise, find a level spot where you can put the bike.
Step 2: Remove the Valve Cover.
Once your bike is in position, locate the valve cover on the tire. This is usually located on the side of the tire near the rim. Use your fingers to unscrew the cover and then remove it. If the cover is tight, you may need a tire iron to loosen it.
Step 3: Check the Air Pressure.
Before adding air to the tire, it’s a good idea to check the current air pressure. This can be done with an air gauge or a tire pressure gauge. If the pressure is low, you will need to add air. If it’s high, you may need to release some air before proceeding.
Step 4: Add Air to the Tire.
Once you know how much air needs to be added, you can begin putting air in the tire. If you’re using an air compressor, attach the air hose to the valve stem and turn on the compressor. The air will start flowing into the tire. You can monitor the pressure with an air gauge to ensure you don’t over-inflate the tire.
If you’re using a can of compressed air, hold the can upright and puncture the top with the valve stem. The air will start flowing into the tire. You may need to shake the can periodically to keep the air flowing. Again, use an air gauge to monitor the pressure.
Step 5: Replace the Valve Cover.
Once you’ve added the desired amount of air, replace the valve cover and screw it on tightly. This will help prevent air from escaping and keep dirt and debris out of the valve stem. It would help if you made sure the cover is tight so that it doesn’t come off while you’re riding.
Step 6: Recheck the Tire Pressure.
After replacing the valve cover, it’s a good idea to check the pressure one more time. This will help ensure that you added the correct amount of air and that there are no leaks. If everything looks good, you’re ready to hit the trails.
As you can see, it’s not difficult to put air in dirt bike tire. Just make sure you have the right tools and materials and follow the outlined steps. Then, with a little bit of care and maintenance, your dirt bike will be ready for anything.
About dirt bike tire
“dirt bike tire pressure”
“dirt bike tire changer”
“dirt bike tire pressure chart”
“fat dirt bike tire”
“dirt bike tires”

